The Flashing Card Holder
When you-mean-business!
Who holds your cards?

![]()

A Product of David Babcock All Rights Reserved
Last Updated 01/19/2018
Still Under Construction
440 Sky Oaks Dr.
Angwin, CA 94508
ph: 707-965-9307
Dbabcock

Shop Crane Tractor Attachment
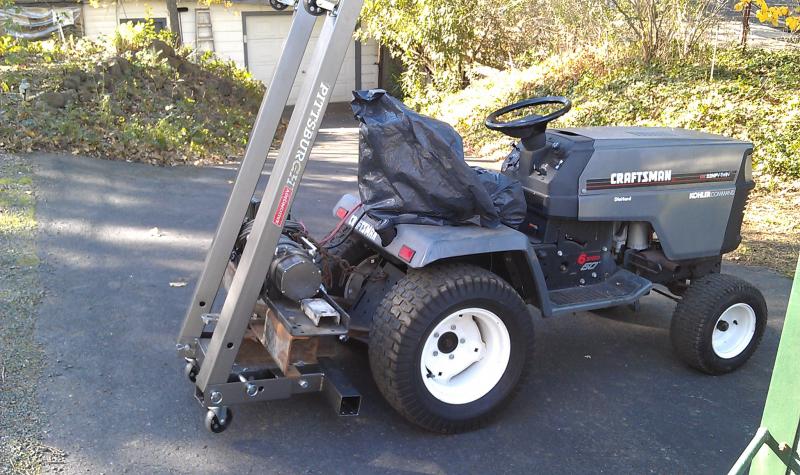
This is a picture taken while planning how to build the attachment parts. The arm is fastened on just enough to stay for consideration purposes, but the legs are just sitting under there to get an idea how they will fit.
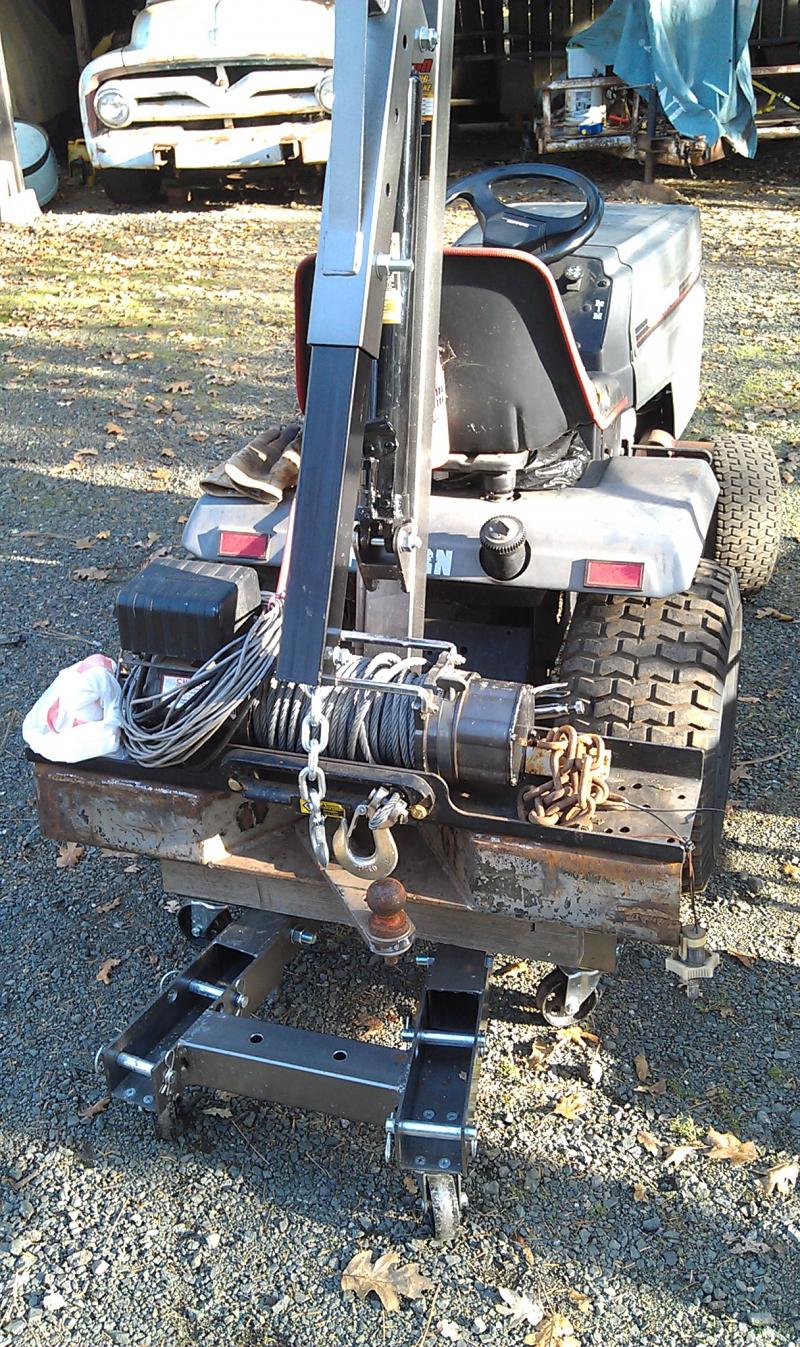
For some of the things I hope to do with this, the wench cable, though over powered for the crane, will probably hook through a pulley, so I can use the electric motor to lift things, without having to pump the jack handle. I am just trying to make the best use of what I already have.
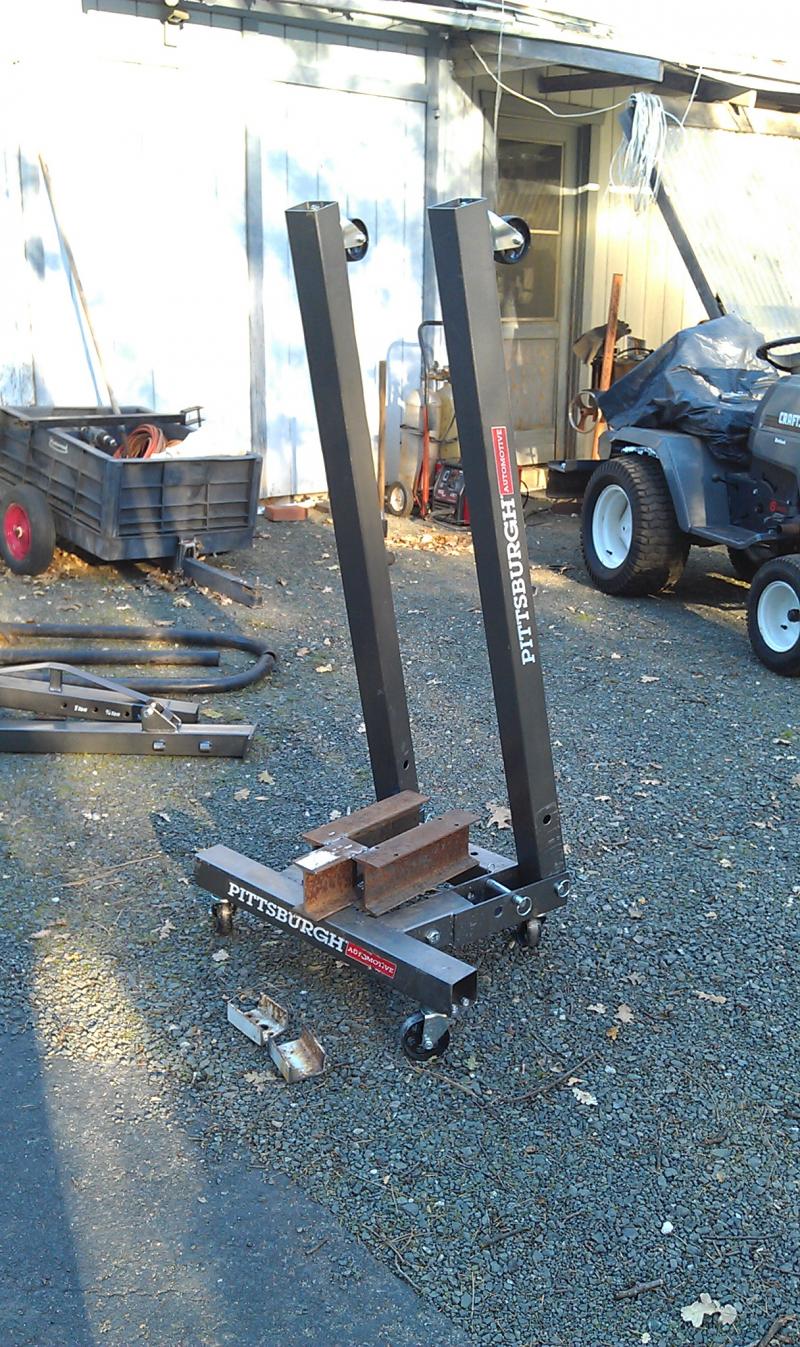
The peices to mount the legs on, are partly made here below. The idea, is to make the foldable shop crane, so that it can be put back together, the way the it was built originally, without it looking like it was modified. The parts that I am making all just bolt on, and bolt it to the tractor. I need to be able to move this around in the yard, and it is hard to move the original shop crane, on surfaces like the gravel. Hopefully the little tractor will make it a little easier to move things around.
The roll bar, when finished, will help support the arm, from the plate the wench is mounted on and to above the top henge of the arm. In this configuration, it is really more about supporting the crane arm, than being a roll bar for the tractor, but both are applicable.
With one set of wheels, off of the original folding shop crane, the attachment can be rocked back toward the tractor, so that the caster wheels will not roll on the ground, unless needed.
Hopefully, when I get this done, it will make it easier to more quickly get some things done, without over straining my damaged neck. Hopefully, my neck will have a chance to heal back to the way it was just a few weeks ago, or even better, if I keep up the therapy, and don't just do it good enough to get by.
This is a picture of my milling machine, while set up to make a couple brackets for the roll bar brace, for the shop crane.
The picture just below, is a close up of what is in this machine.
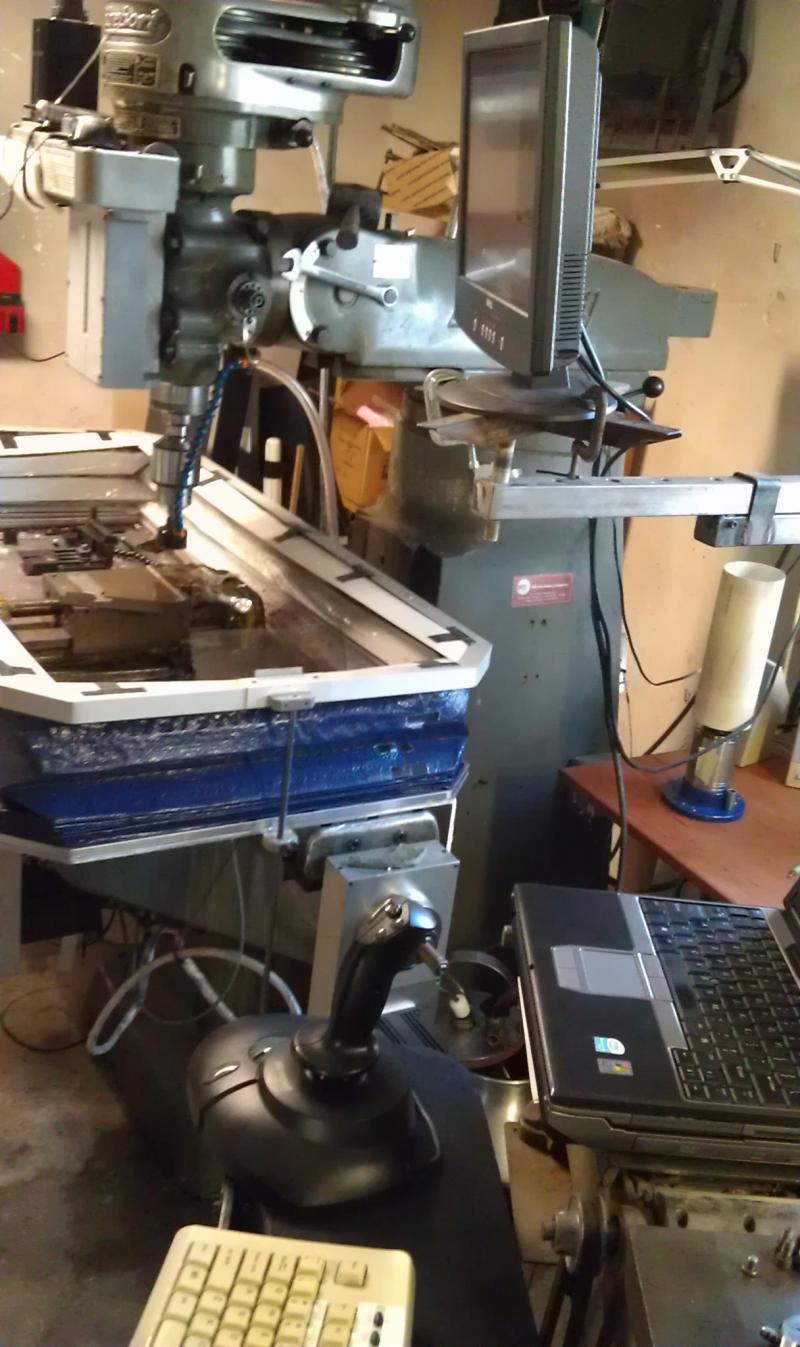
See the little video, talking a bit about the machne setup I was using to make these parts, now available further down the page.
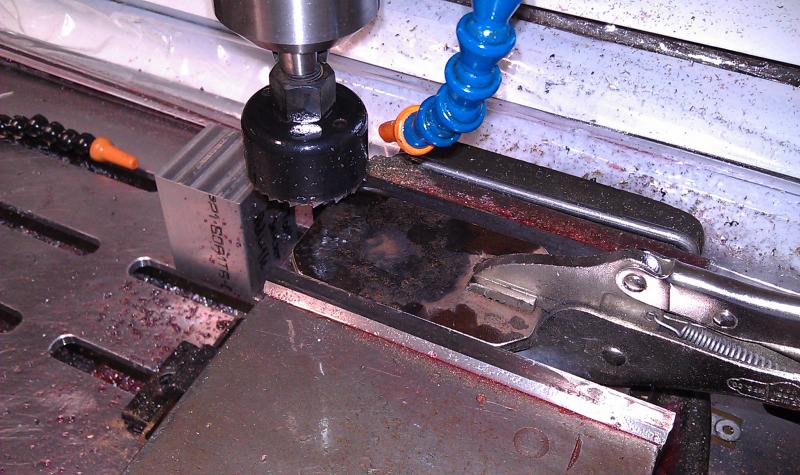
This is a hole saw in the milling machine, ready to cut the brackets to be welded onto the roll bar. I have several different ways I can make these, but decided to do it this way, this time.
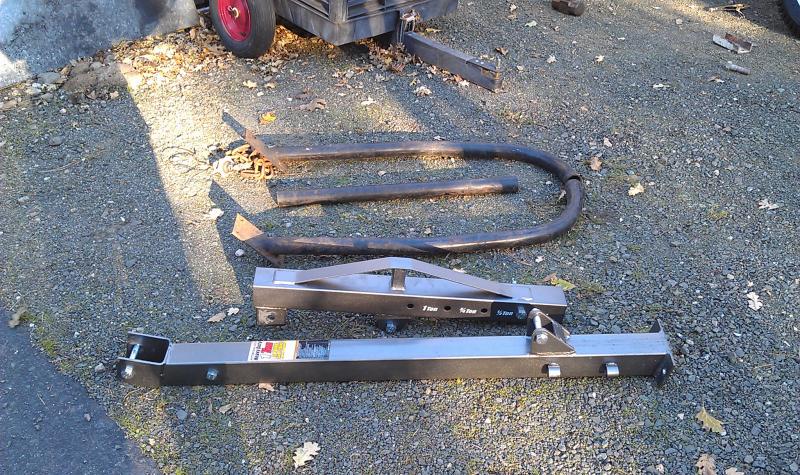
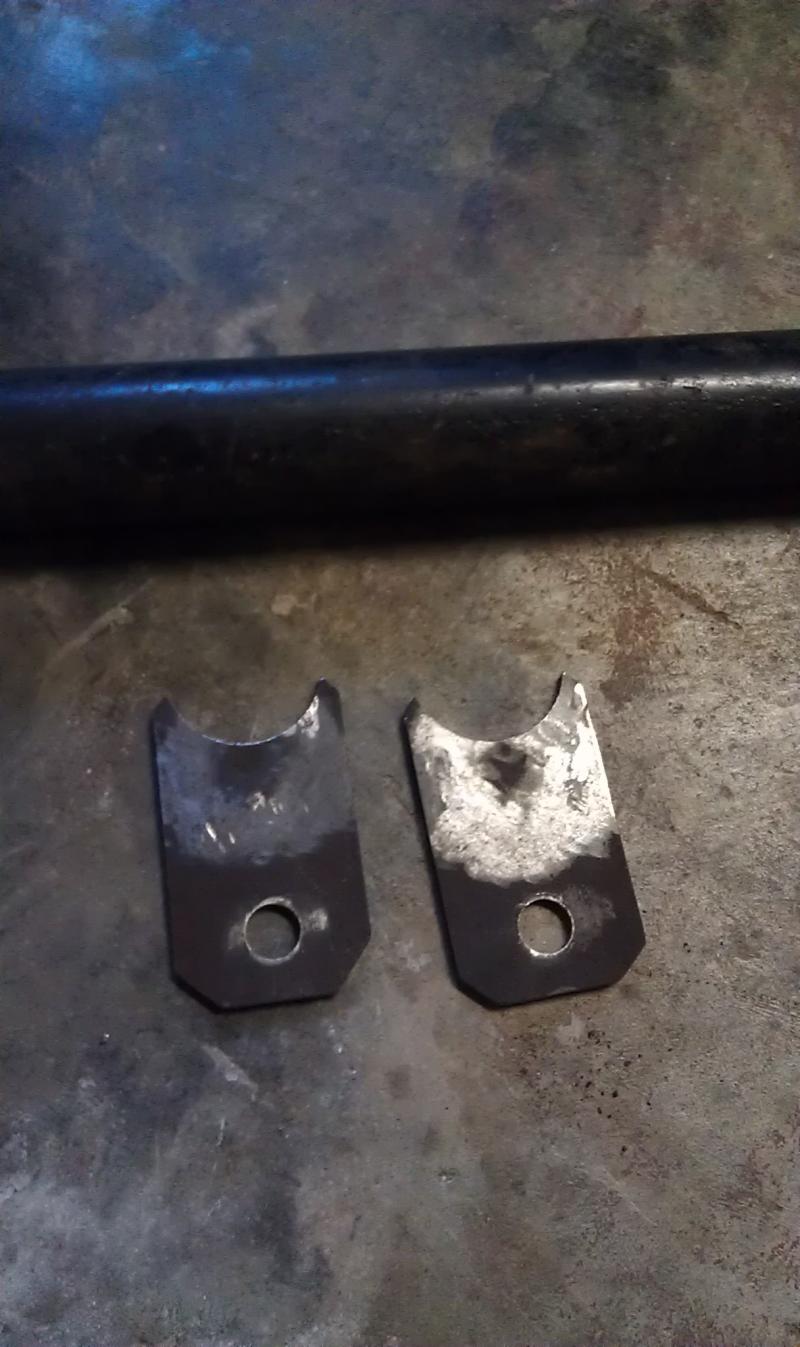
These are the pieces after they were cut, beside a section of the roll bar material, they will be welded onto.
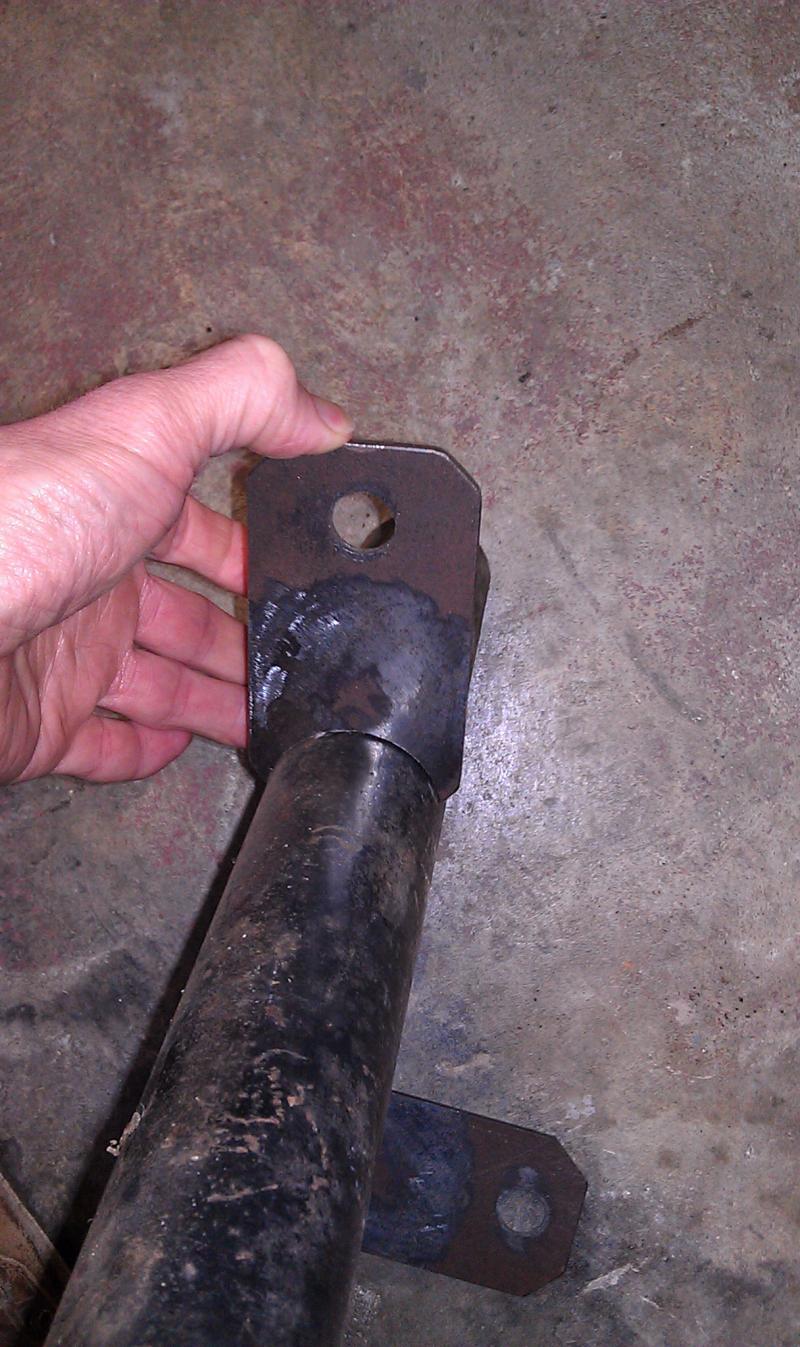
This is of one of the pieces setting against the bar material, so you can see why the curve was cut onto the bracket. The bar, and the bracket still have to be cleaned up more, before they can be welded together.
Lord willing, maybe I'll put some more pictures here, or even a video or two, of building some of the parts. I made a little video, showing making some brackets on my CNC milling machine. But have not had the time to put it up here yet. (I now have one here below, showing the setup, but not the cutting of the part yet.)
Check back again later, and maybe more will be in here for you to look at, if you want to see them.
Below are videos showing a little bit of the milling machine setup, that the picture above show.
Not sure why, but on my phone the demsions are off, unless I hit the button at the right bottom, to make it full screen. If you are not use to these, the square button, on some PCs, also makes this full screen.
Sorry, the video is a bit rough, but you can get the idea if you want to.
440 Sky Oaks Dr.
Angwin, CA 94508
ph: 707-965-9307
Dbabcock